Drafting from the turn means you pick twice in a row — 1.12 then 2.01 in a 12-team snake draft — and then sit through 22 straight selections before your next turn. That paired pick gives you control nobody else has; the long wait takes it away. This is how to draft from the turn in fantasy football without the blind stretch deciding your season for you.
Most guides tell you to make value picks. That advice is thin at the turn, because the board you are pricing is twenty-two players older than the one in front of you. The useful version of this process is a two-pick queue, a roster-spots list, and a rule for what you do while the clock runs without you.
Table of Contents
- What You Need Before Draft Day
- Your pick numbers, by league size
- Step-by-Step: How to Draft From the Turn in Fantasy Football
- 1. Set the Range of Players You Can Realistically Draft When You Draft From the Turn
- 2. Know Which Roster Spots Matter Most
- 3. Build Tiers Instead of a Rigid Draft Board
- 4. Judge the Turn Pair by Pair, Not Round by Round
- 5. Know When Best Player Available Is the Right Answer
- 6. Adjust for Tiers, Trades, and Unexpected Runs
- Common Mistakes That Cost You the Turn
- What to track during the long wait
- Frequently Asked Questions
- What pick is considered the turn in a 12-team fantasy football draft?
- Should I reach at the turn to fill a positional need?
- How do I decide between two players on my fantasy football draft board?
- Is best player available always best during the middle rounds?
- How should a 12-team PPR draft differ at the turn?
- Should I trade down or trade up during the middle of my draft?
- The Bottom Line
What You Need Before Draft Day
Before the strategy matters, the settings matter more. A turn plan built for a 10-team superflex league will be wrong in a 12-team 3WR redraft, and the only way to know which is you is to read your own league settings page before you read anybody’s rankings.
Here is the pre-draft checklist I run through the night before:
- Roster construction: how many starting slots at each position, how many flex spots, and whether the flex is a WR, RB, TE, or any of them.
- Scoring: points per reception, whether passing or rushing yards are capped, and whether first downs or interceptions carry weight.
- League size and members: eight, ten, twelve, fourteen, sixteen, or more, and whether anyone in the league actually drafts before kickoff.
- Your exact pick range: your slot plus the slot you snake into next, and the pick number of each.
- Sleep or dynasty settings: contract years, roster retention rules, and whether you keep your league picks.
- Your two-pick queue, written down and in order.
Your pick numbers, by league size
Most draft advice assumes 12 teams. Here is how the turn slot translates, and exactly how many players get drafted while you wait.
| Teams | Turn slot | Next pick | Players drafted during your wait |
|---|---|---|---|
| 8 | 1.08 / 2.01 | 3.08 | 14 |
| 10 | 1.10 / 2.01 | 3.10 | 18 |
| 12 | 1.12 / 2.01 | 3.12 | 22 |
| 14 | 1.14 / 2.01 | 3.14 | 26 |
| 16 | 1.16 / 2.01 | 3.16 | 30 |
That third column is the whole story. In a 16-team league, a full tier at running back can be gone by the time you are back on the clock, and there is nothing you can do about it except know it in advance.
One question comes up every year in draft-position threads: should you take a deal to move out of 1.12 before the draft? Usually no, unless the offer also comes with a pick. A 1.12 owner with a 1.01 asking to swap is offering you the thing you already have. The one move worth making is a straight trade for a pick inside the top 20, if someone offers one — otherwise the slot is fine, and the harder job is preparing for it.
Step-by-Step: How to Draft From the Turn in Fantasy Football
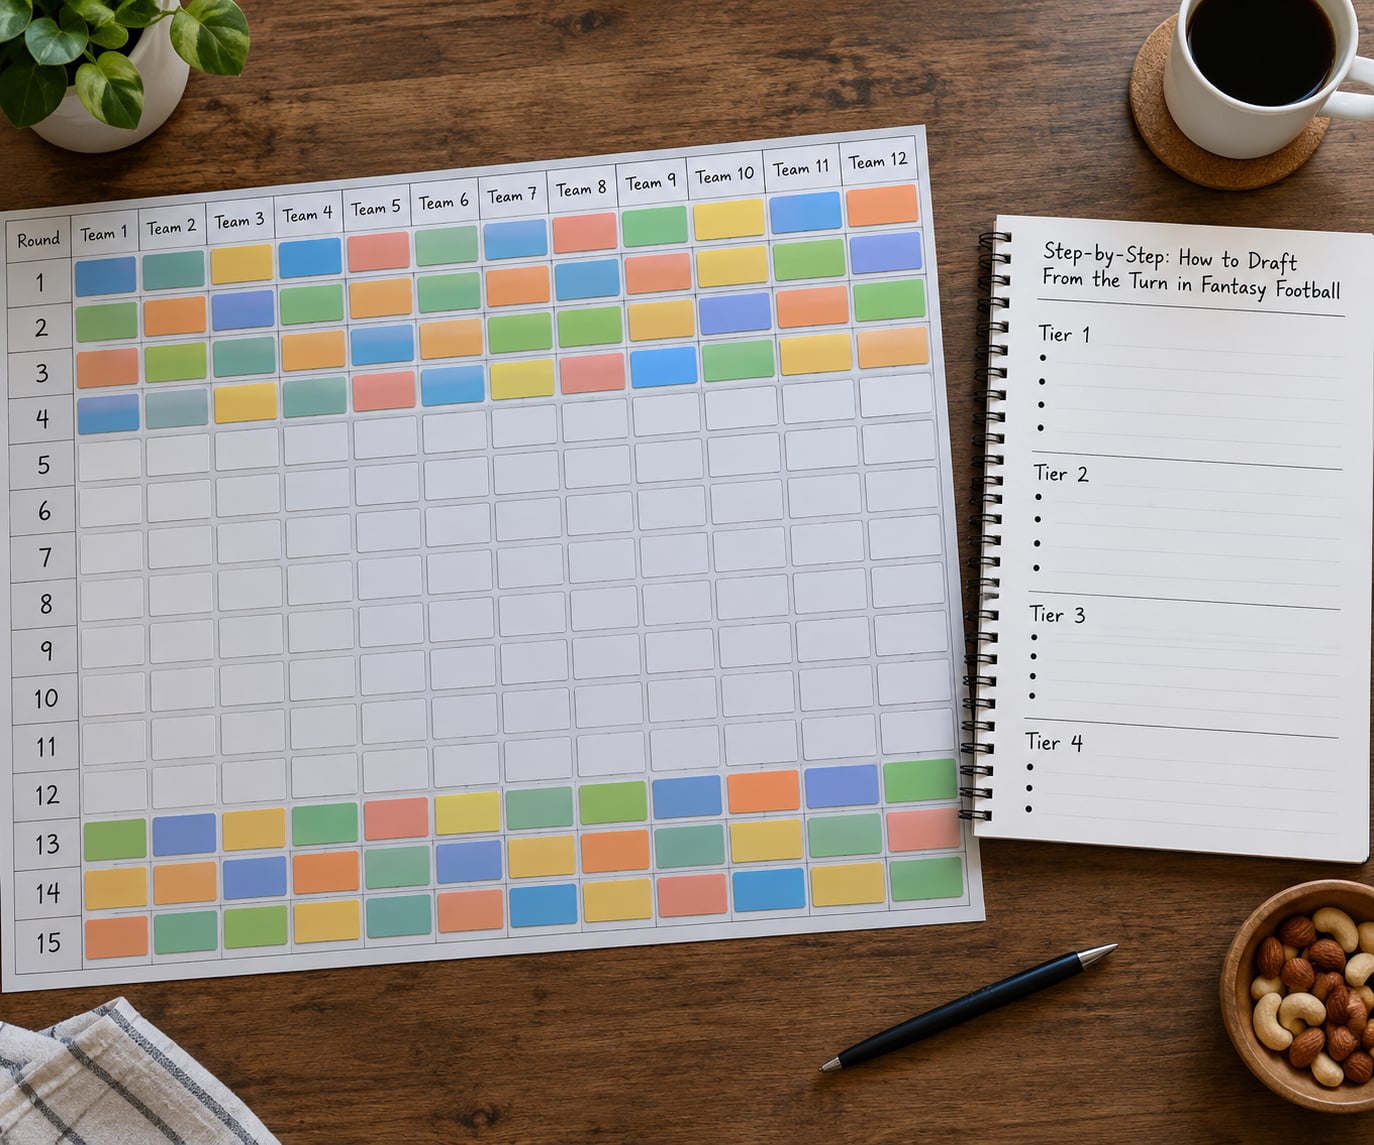
The process runs in six steps, and the order matters. Skip ahead and you end up reacting to a board that changed while you were looking at something else.
1. Set the Range of Players You Can Realistically Draft When You Draft From the Turn
Start by writing down the player you expect to be available at each of your turns, not the player you want. In a 12-team league, a pick in the 50s to 60s lands in a range where one elite running back is usually gone but two strong ones are not. A pick in the mid-70s to 80s moves you past the top of a position group and into its second wave. A pick around 100 is a flier round, and you should treat it that way.
Then subtract the wait. If your realistic range at 7.08 is a group of six tight ends, and fourteen players are drafted between 7.08 and 8.01 in a 10-team league, assume you are picking near the bottom of that group, not the top. Rounding the range upward is how turn managers end up blanking on a position at 9.01 and blaming the draft.
2. Know Which Roster Spots Matter Most
Not every open slot on your roster costs the same. A starting tight end in a two-tight-end league is worth far more than a third wide receiver. A bench spot in a 16-team league that keeps players is a stash, and in a 16-team league that cuts them, it is worth roughly nothing.
Rank your own empty slots before the draft, one through whatever number you have. Most of the time the order is: the position you are lightest on among your starters, then the position where you have the fewest bodies, then flex-eligible depth, then the bench. When a board disagreement comes down to two players, that list decides it in about three seconds.
Reach value is worth paying when the gap between your ranked target and the next player at the same position is small, and the player you would otherwise take has no path to a starting role. It is not worth paying to fix a need you created by drafting two players at a position you already had covered.
3. Build Tiers Instead of a Rigid Draft Board
Exact rankings go stale about a week before drafts. Tiers survive, because they describe a group rather than a line. The top tier is the players who will be weekly starters. The second tier is the players who will be dependable backups and occasional spot starts. The third tier is the fliers. The fourth is filler you take late because the roster has an empty square.
A tier break is the gap between the bottom of one group and the top of the next, and that gap is what you are pricing at the turn. When a tier is five players deep and your turn is ten picks away, three of them are gone before you get back. When a tier is twelve deep, the whole group is still there, and you can take the best player available at that position without fear.
Count the depth, not the names. It is the fastest useful thing you can do with an unranked pool of available players.
4. Judge the Turn Pair by Pair, Not Round by Round
Your pick at 1.12 and your pick at 2.01 are one decision, and planning them as two separate choices is where turn drafts go wrong. Before the draft, every slot on your sheet gets two names, not one, plus a third fallback and one player you will take only if everything above him is gone.
On the clock, the sequence is short. Identify the best player on the board by talent, not by your ranking. List the next two or three available players and check where each one sits against your roster-spots list. Write a range — this player or someone within a pick or two — and take the top of the range if it is still there. Then immediately start the second half of the pair, because the board is about to change in front of you.
Taking two players in the same tier at the same position is often correct at the turn and almost never correct from a middle slot, because only you get two in a row with nobody able to take one of them before you do.
5. Know When Best Player Available Is the Right Answer
Best player available is the default at the turn in most formats. You have two consecutive picks, so taking the best guy twice costs you nothing — the player you pass on at 1.12 is one you would take at 2.01, and the player you pass on at 2.01 is one you would have taken at 2.02. BPA wins in redraft, in dynasty, in shallow leagues, and anywhere your roster has flex spots that make position labels nearly meaningless.
Position overrides BPA in a specific set of cases. You need a starting tight end and the gap between the last one on the board and the next one is eight players wide. You are in superflex and there are four usable quarterbacks left. You already have three running backs and the board has one, and it is early enough that it will start a run.
On quarterbacks specifically: in a standard 12-team redraft league, the round you want a QB is round 7 to 10 depending on how many teams have gone early, and later than that in superflex. The reason is that there are twelve teams and one starting job. Take a mid-tier passer on the early turn and you will be drafting his backup to pair with him. Wait, take a real starter when one is available around the middle rounds, and pair with a low-cost back-up number two later, when the queue is shorter and the risk is smaller.
6. Adjust for Tiers, Trades, and Unexpected Runs
The board will not follow your script. Here is the turn decision table I keep next to the laptop, mapping what you see to what you do about it.
| What you see on the board | What to do at the turn |
|---|---|
| Your first target went one pick before you | Move to the second name in the queue immediately. Do not reach past two players to get even. |
| A position tier is collapsing in front of you | Take from that tier if it is a roster need, even slightly below average draft position. Price the tier, not the individual player. |
| Two teams in a row picked the same position out of fear | Let them run. Runs started by panic break early and leave value behind. |
| Your pair is gone but a different position is deep | Abandon the script and take best player available. A plan built on a player who is no longer there is not a plan. |
| There is an injury report before your pick | Check whether the affected player was on your board, then re-rank. Do not take a flyer mid-draft on news you have not verified. |
| Another manager offers a trade on the clock | Accept only if it improves a slot you ranked in the top four. A trade is worth more when you are waiting than when you are on the clock. |
| You have two picks in a row and a safe player on your board | Pair the safe player with a ceiling. That is the one combination the turn slot makes possible. |
The last row is the real advantage of the slot, and it is worth building toward. A player with a known floor plus a player with a real path to a big season is a roster you can live with. Two safe players is a roster that loses to a top-10 finish.
Common Mistakes That Cost You the Turn
These are the errors that show up in turn drafts over and over, and each has a specific correction.
- Forcing a position pick out of fear. You take a tight end at 1.12 because the board scares you, then the tier survives the wait and you have a worse player at a position you were already fine at. Correction: only take a position out of order when it appears in the top two of your roster-spots list.
- Drafting the second pick of a pair with no plan. This is the panic pick, and it is the single most common turn mistake. Correction: every slot on your sheet carries two names and a fallback. If you cannot name the second, do not go on the clock.
- Reaching several picks above average draft position. A small reach of three or four spots is usually fine at the turn, because the players between you and your target do not survive your own first pick. Correction: cap the reach at one tier. If the player is more than a full tier above your top target, take the next guy.
- Building a good roster at the top and running out of positions late. Two elite wide receivers in rounds one and two is a great start and a trap if your running back scarcity point arrives with two picks left. Correction: keep a position-count target for the end of round 4 and check it, not your player rankings.
- Drafting a third wide receiver before a first running back. Common in 3WR leagues, wrong in flex formats where the running back plays flex. Correction: in any league with a running back flex spot, the running back is a starter before the third receiver is.
- Ignoring what happens while you wait. A turn manager who closes the draft app for twenty-two picks is making all of their decisions on stale information. Correction: keep the board open and run the tracking routine below.
- Following an exact board to the last round. A ranking built six weeks before draft day is a guide, not a script. Correction: switch to tiers after round six, where roster fit matters more than a name on a list.
What to track during the long wait
You have twenty-two picks of downtime. Spend the first three of them on this, and the rest of your pick will feel obvious.
- Which teams still have no starting quarterback, tight end, or starting receiver? Those are the teams that will take one of your targets while you are gone.
- How many players remain in each tier of each position? Count, do not estimate.
- Which of your targets just went, and by how much of the tier is now gone?
- Whether the run you feared started, and whether the two teams driving it are acting on real need or nerves.
- Your next pair, written in order, before the clock gets to you.
Frequently Asked Questions
What pick is considered the turn in a 12-team fantasy football draft?
In a 12-team snake draft the turn is the 1.12 pick followed immediately by 2.01. The same pattern repeats at 3.12 and 4.01, 5.12 and 6.01, and so on. The final turn is 11.12 and 12.02, the very last pick of the draft. You take two players in a row, then sit out 22 selections before your next turn.
Should I reach at the turn to fill a positional need?
Yes, but only a small one, and only when the need is real. A reach of three or four spots above average draft position costs you almost nothing at the turn, because the players in between usually do not survive your own first pick. A reach of a full tier is a mistake. Check your empty roster spots before you take anyone out of order.
How do I decide between two players on my fantasy football draft board?
Use your roster-spots list first. If one player fills a position where you have a starter and the other fills your thinnest slot, take the second. If both fill the same need, take the higher player unless the gap is large enough that the value lost outweighs the need. If the gap is a full tier, take the second player.
Is best player available always best during the middle rounds?
Almost always, at the turn, because you get two picks in a row and can take the top of the board twice. The exceptions are a genuine positional scarcity, a superflex league where usable quarterbacks run out, and a roster where a specific starter is still missing. In all three cases the need has to appear in the top two of your own ranking, not in your fear.
How should a 12-team PPR draft differ at the turn?
Two things shift. Wide receivers stay valuable much deeper in the draft, so the wide receiver tier is harder to lose during your wait than it is in a non-PPR league. And the tight end tier is thin early, which means you can often punt the position a full round longer than you would in standard scoring. The rest of the turn process stays the same.
Should I trade down or trade up during the middle of my draft?
Trade down if you are on the clock and the offer improves one of your top four roster spots. Trade up only when you are waiting and the player you want is about to be picked, because the delay makes the trade more likely to be accepted. Never trade a middle-round pick for a low-end player to fill a spot you could fill on the waiver wire.
The Bottom Line
Learning how to draft from the turn in fantasy football comes down to preparation you finish before the draft does. Know your two pick numbers, count the players drafted during your wait, rank your own empty roster spots, and write two names on every slot of your sheet.
On the clock, take the best player your roster needs, pair a safe floor with a real ceiling, and use the twenty-two picks in between to count tiers instead of refreshing rankings. That is the whole process. Updated for 2026, and worth rereading once your league settings are locked.